Kitchen · Sintered Stone
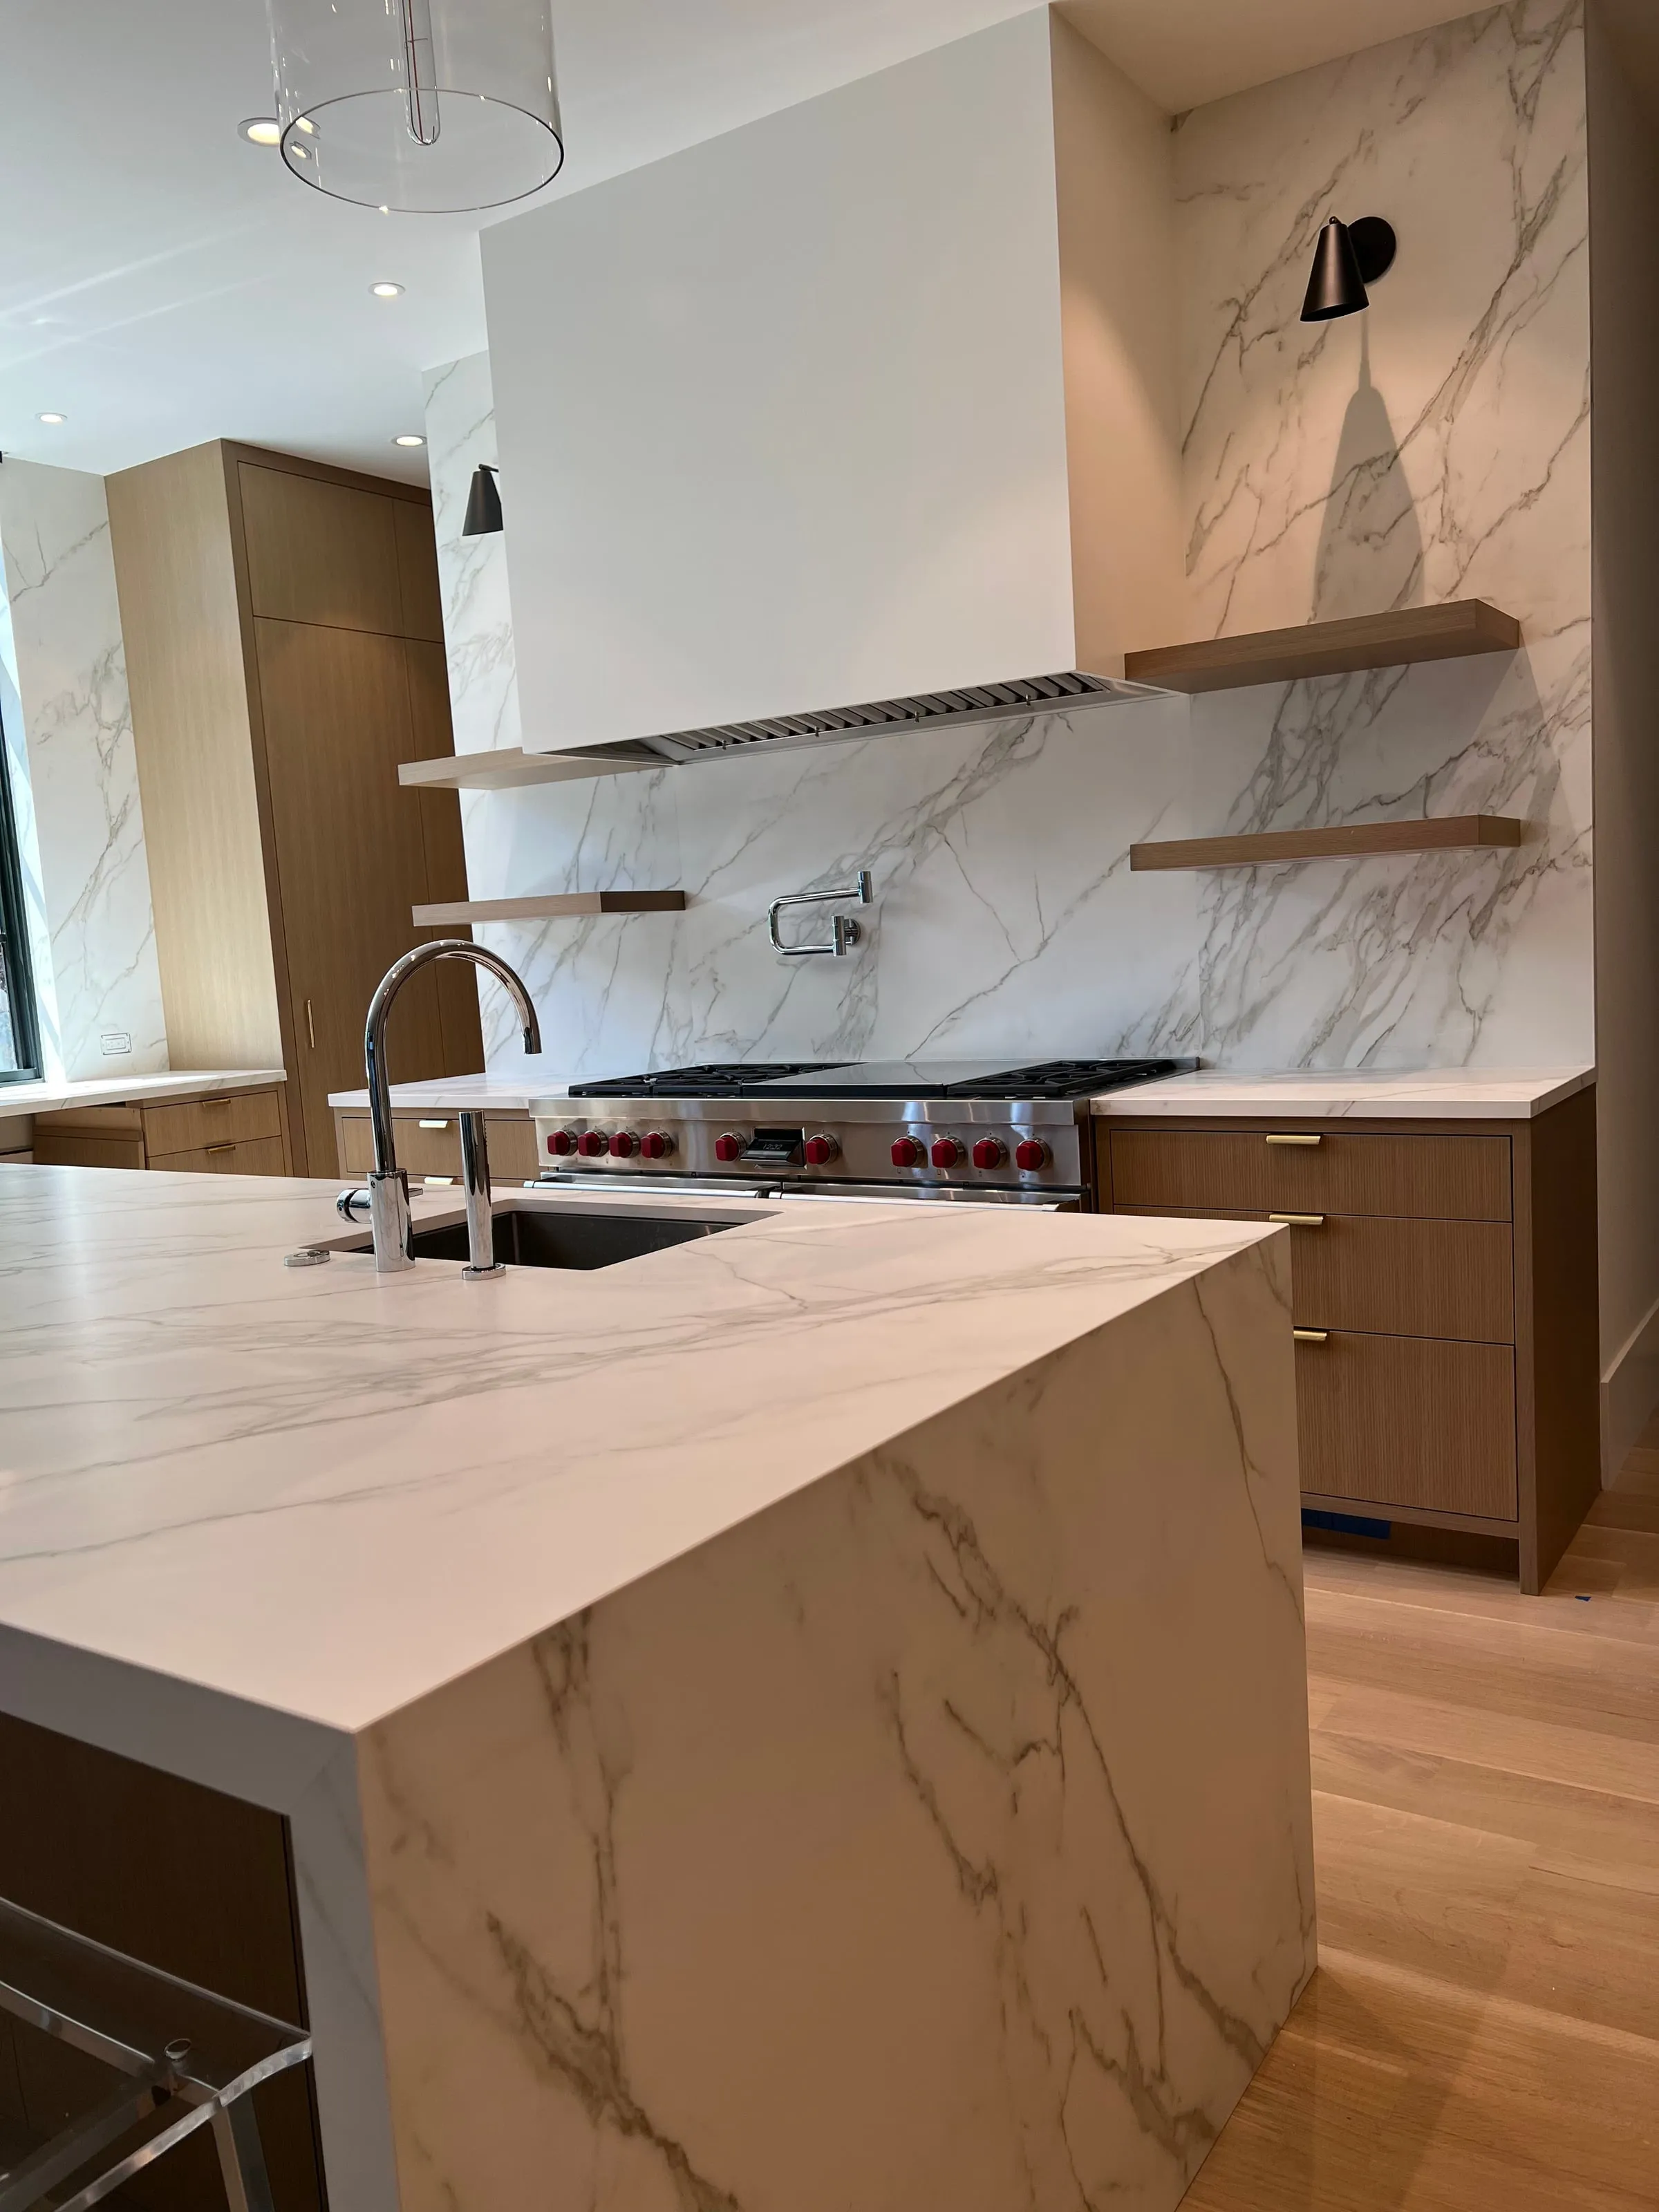
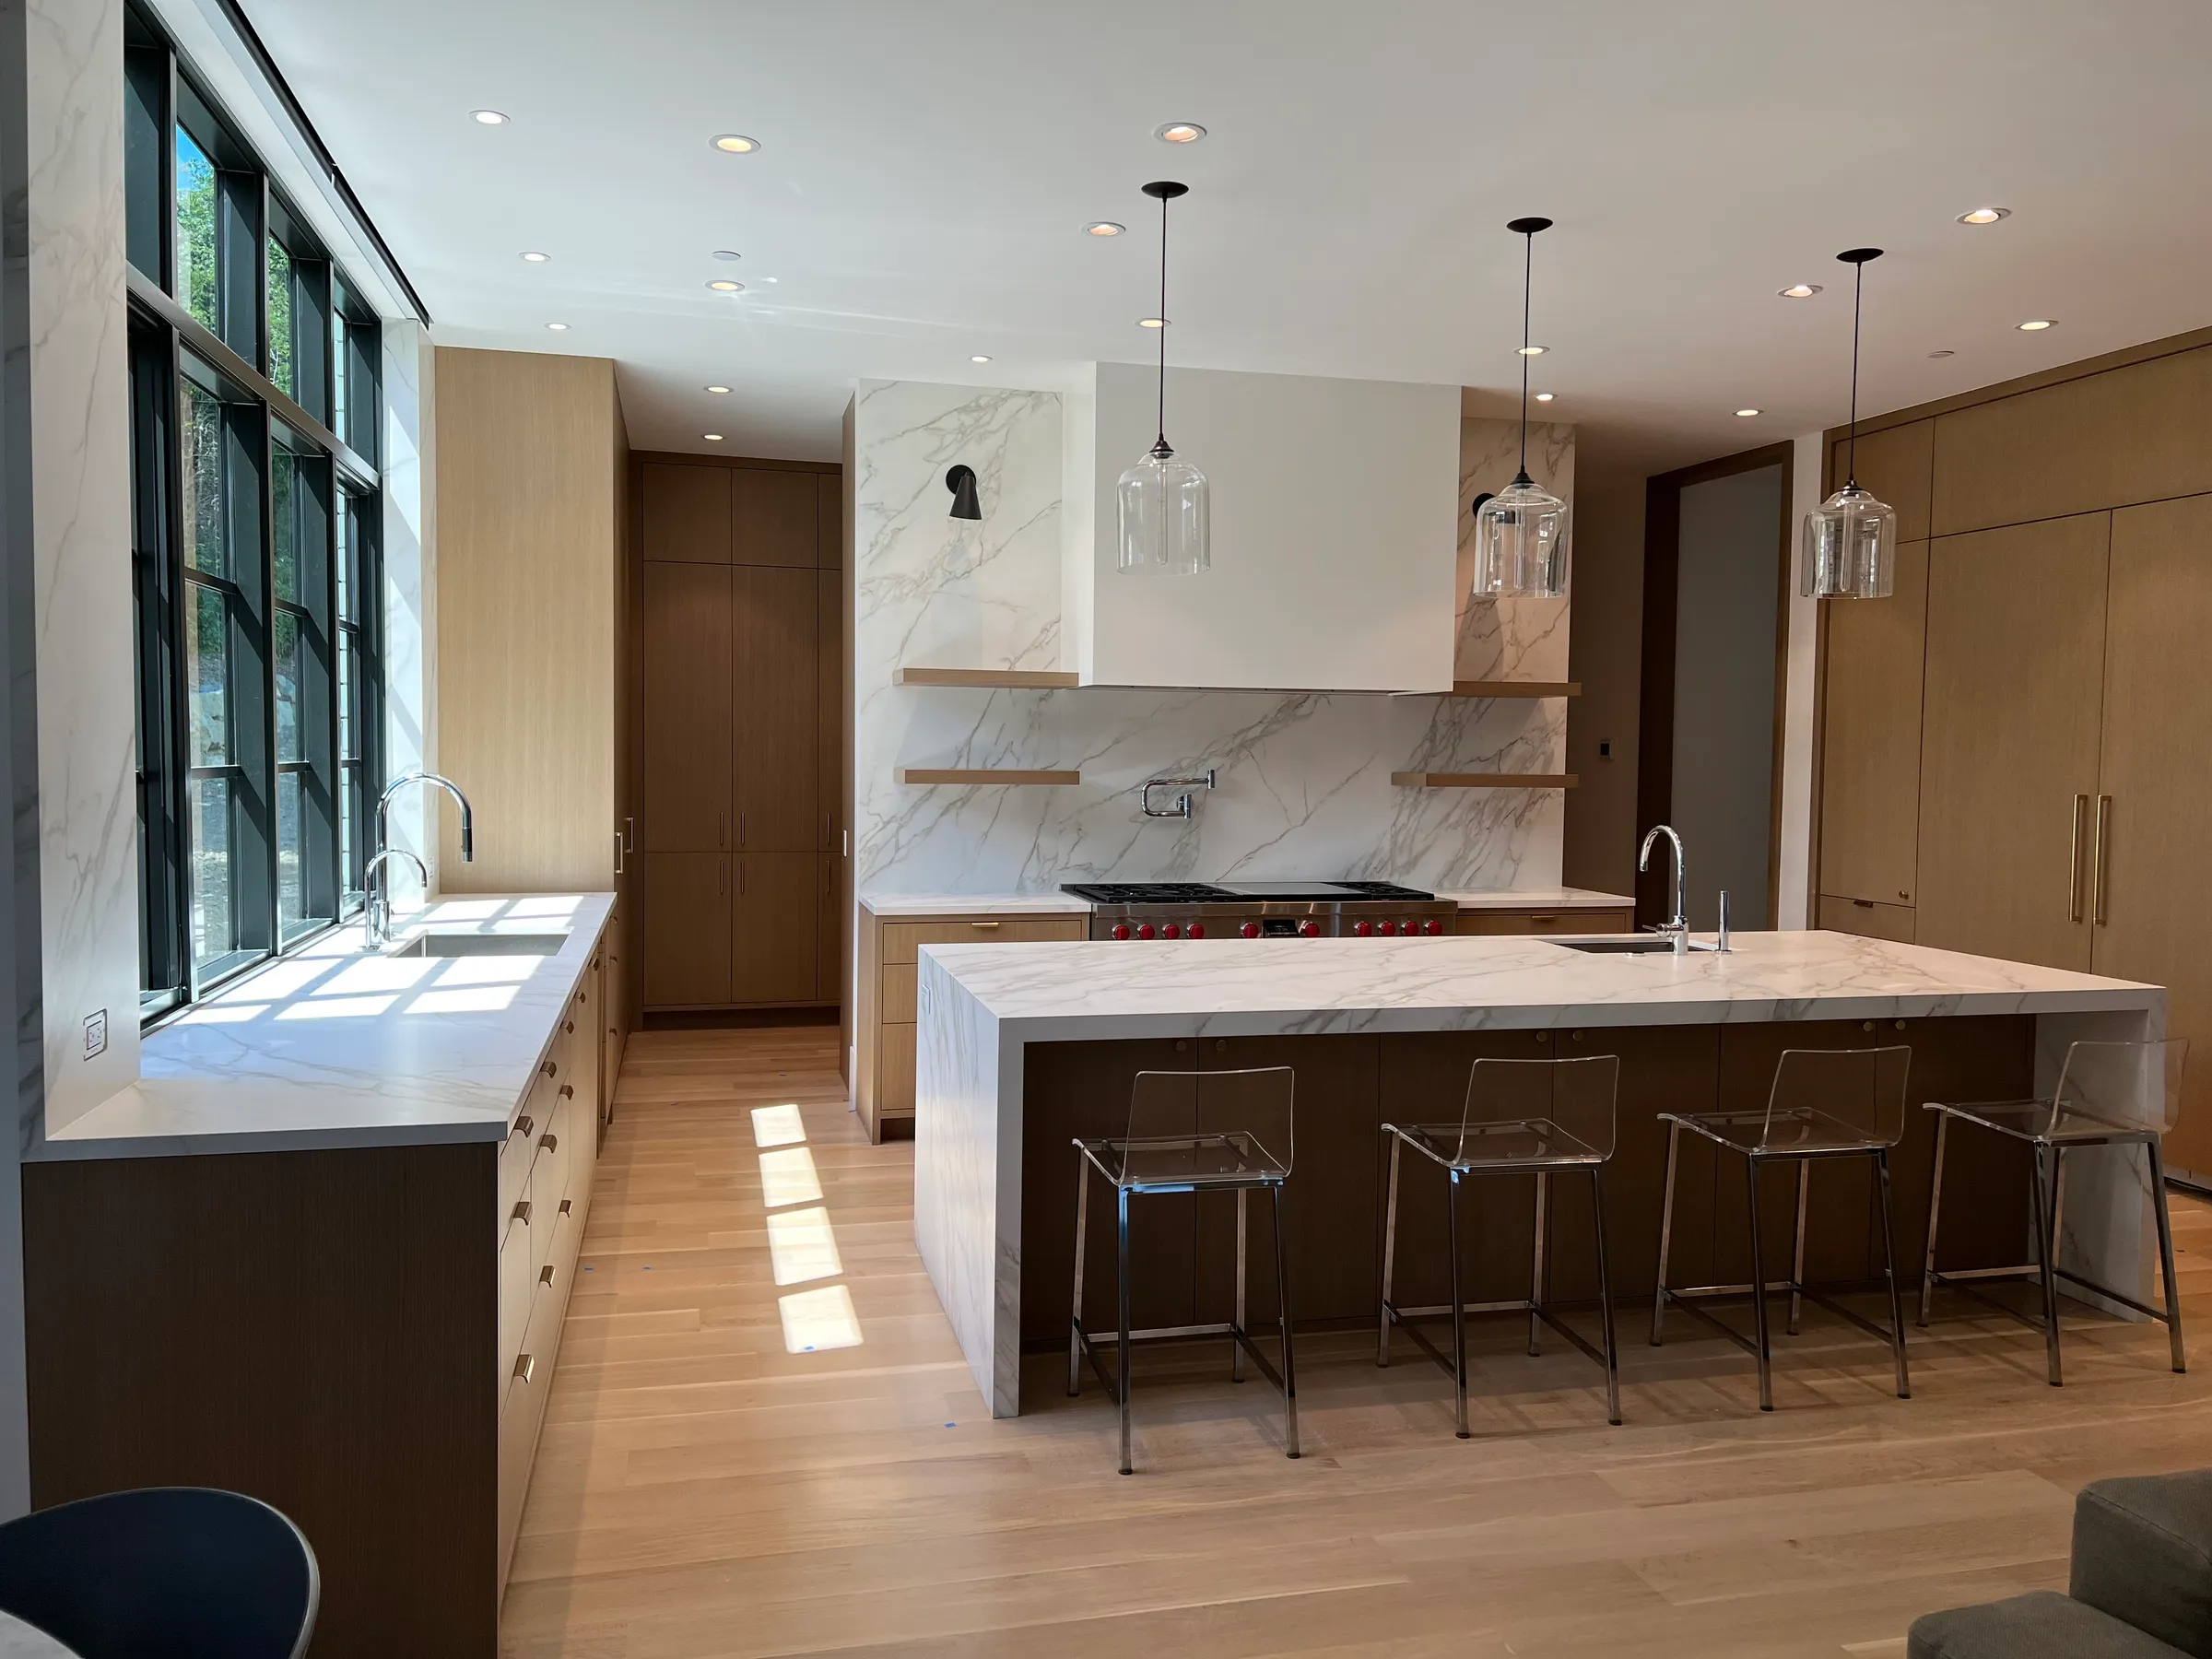
Hunts Point Kitchen in Neolith Calacatta Silk
Hunts Point, WA
A Hunts Point kitchen in Neolith Calacatta Silk, with a full-height backsplash, a large island and mitered edges throughout.
Read case studyCountertops & Surfaces
A full height backsplash treats the wall as a design surface instead of a thin strip of tile. Large stone or porcelain panels run from the countertop to the cabinets or ceiling, so the cooking wall reads as one clean plane.
We plan it the same way we plan a countertop: digital templating, careful seam placement and a layout that works with the veining.
Scope of work
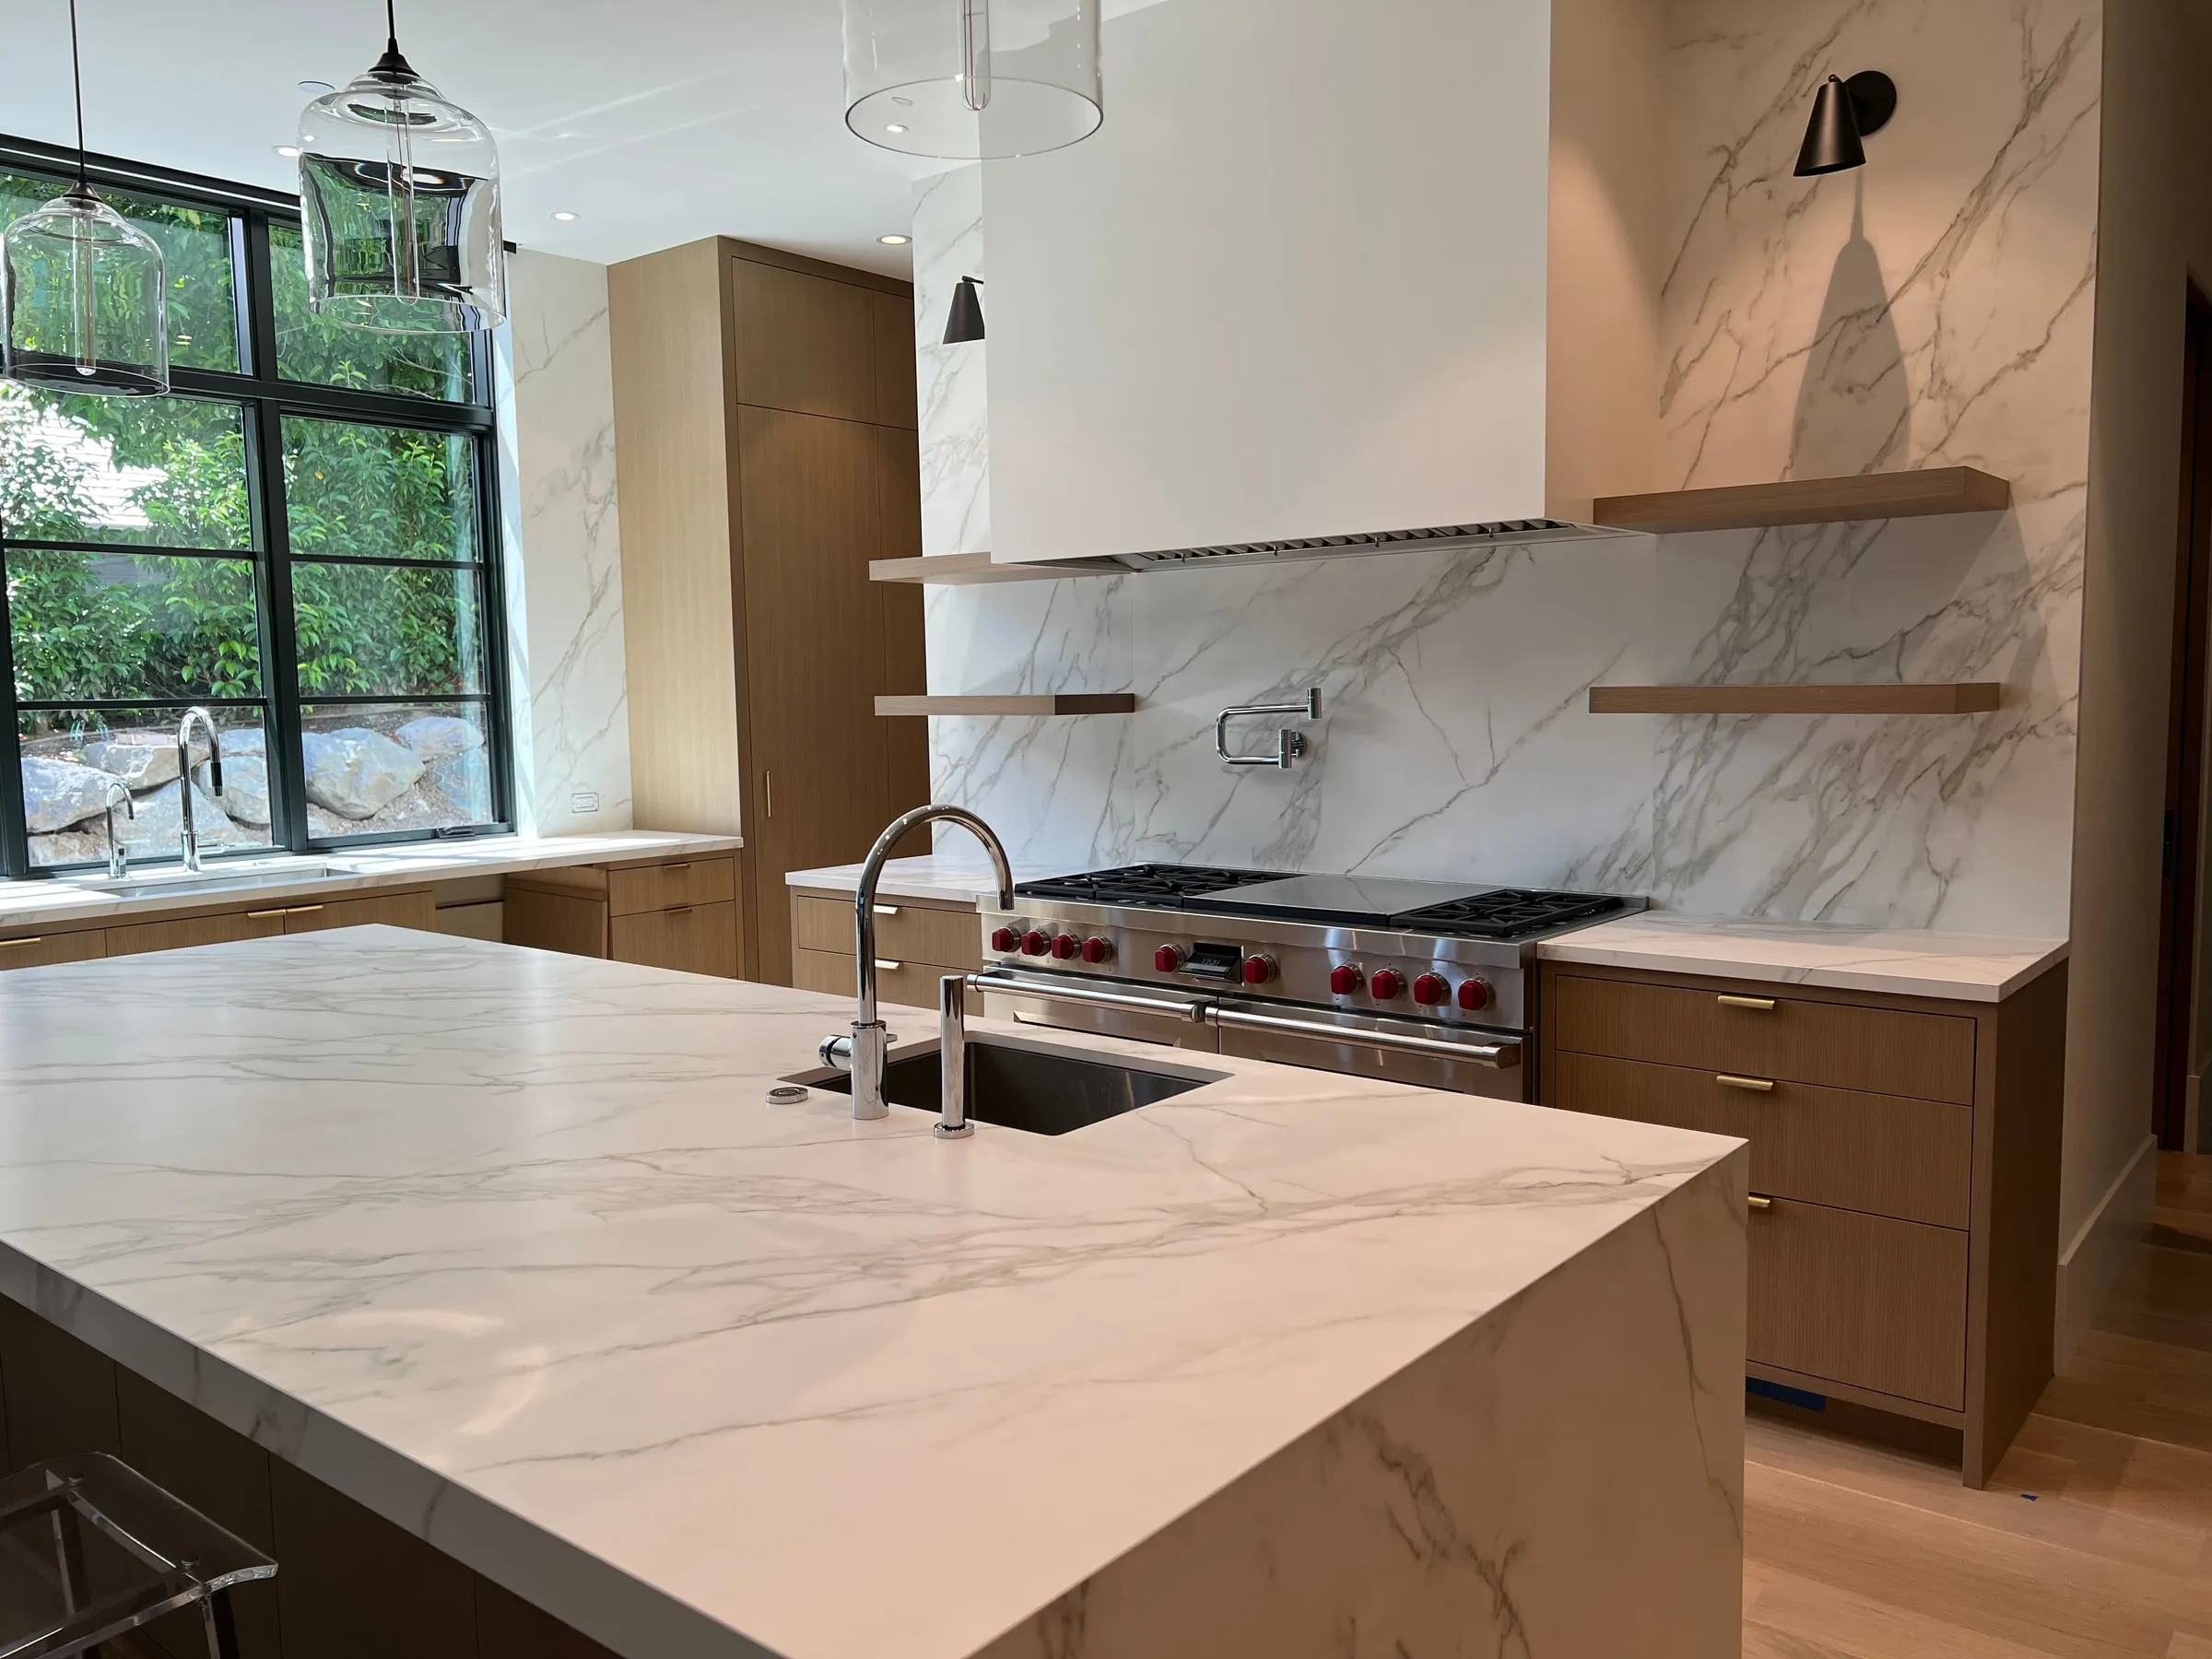
Porcelain, quartz, sintered stone and natural stone each behave differently on a wall. We help you choose for the room and the amount of splash and heat.
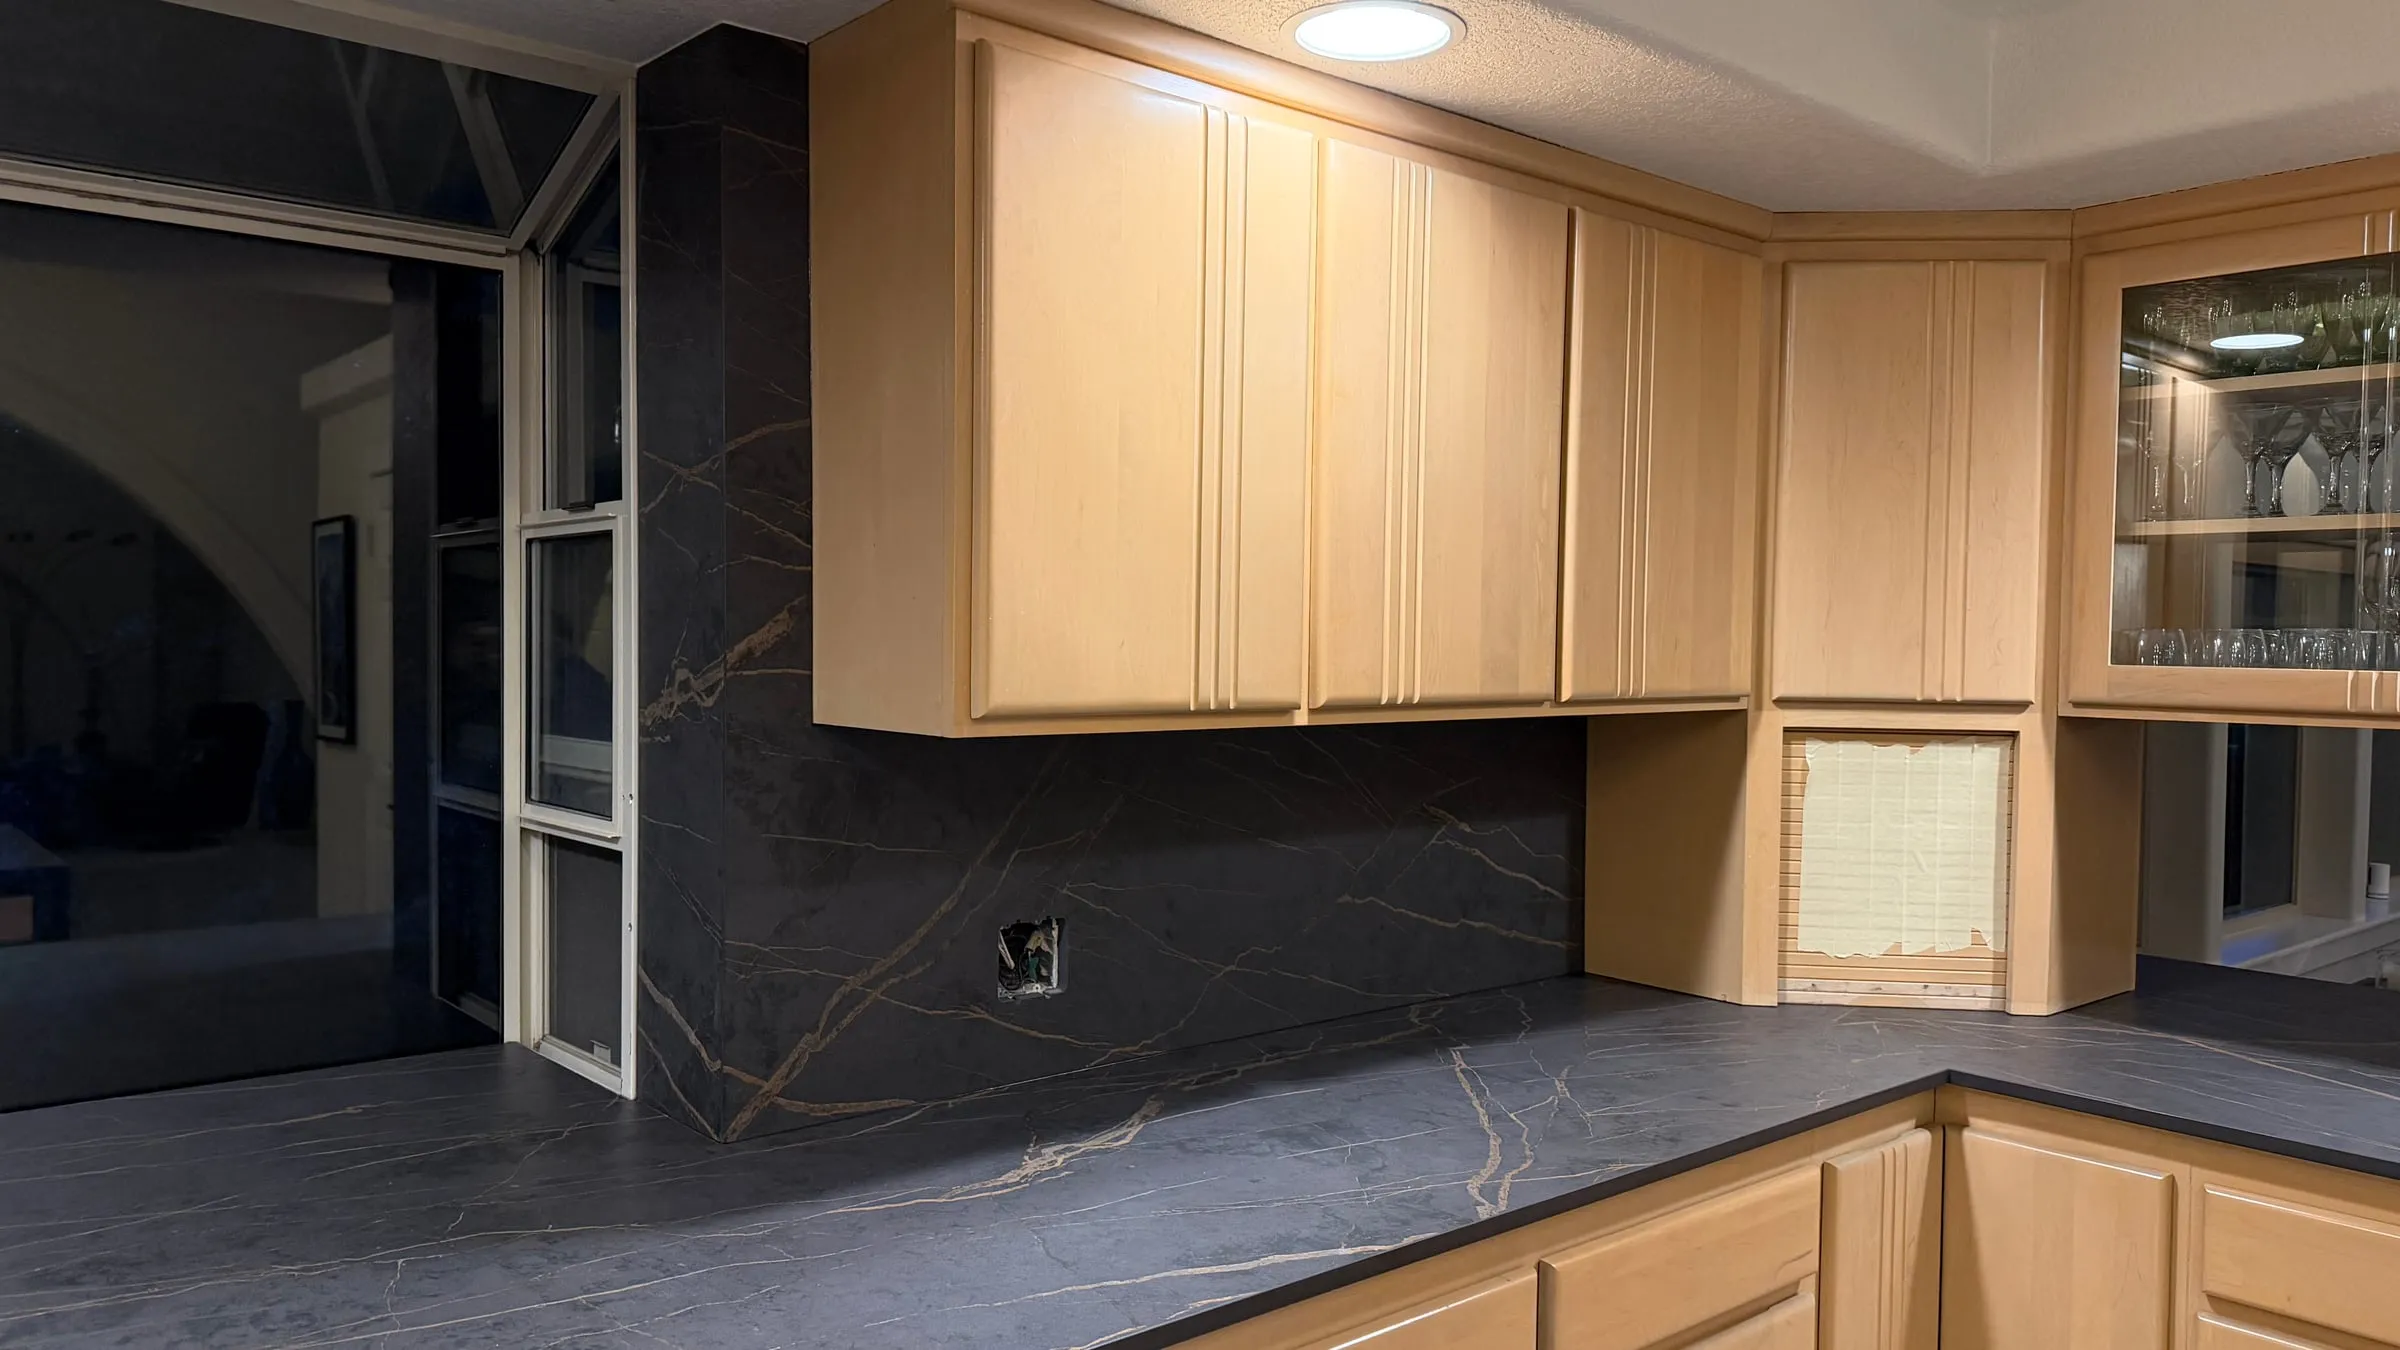
Vertical seams are placed at natural breaks such as window edges and cabinet borders, and veining is matched across joints where the slab allows.
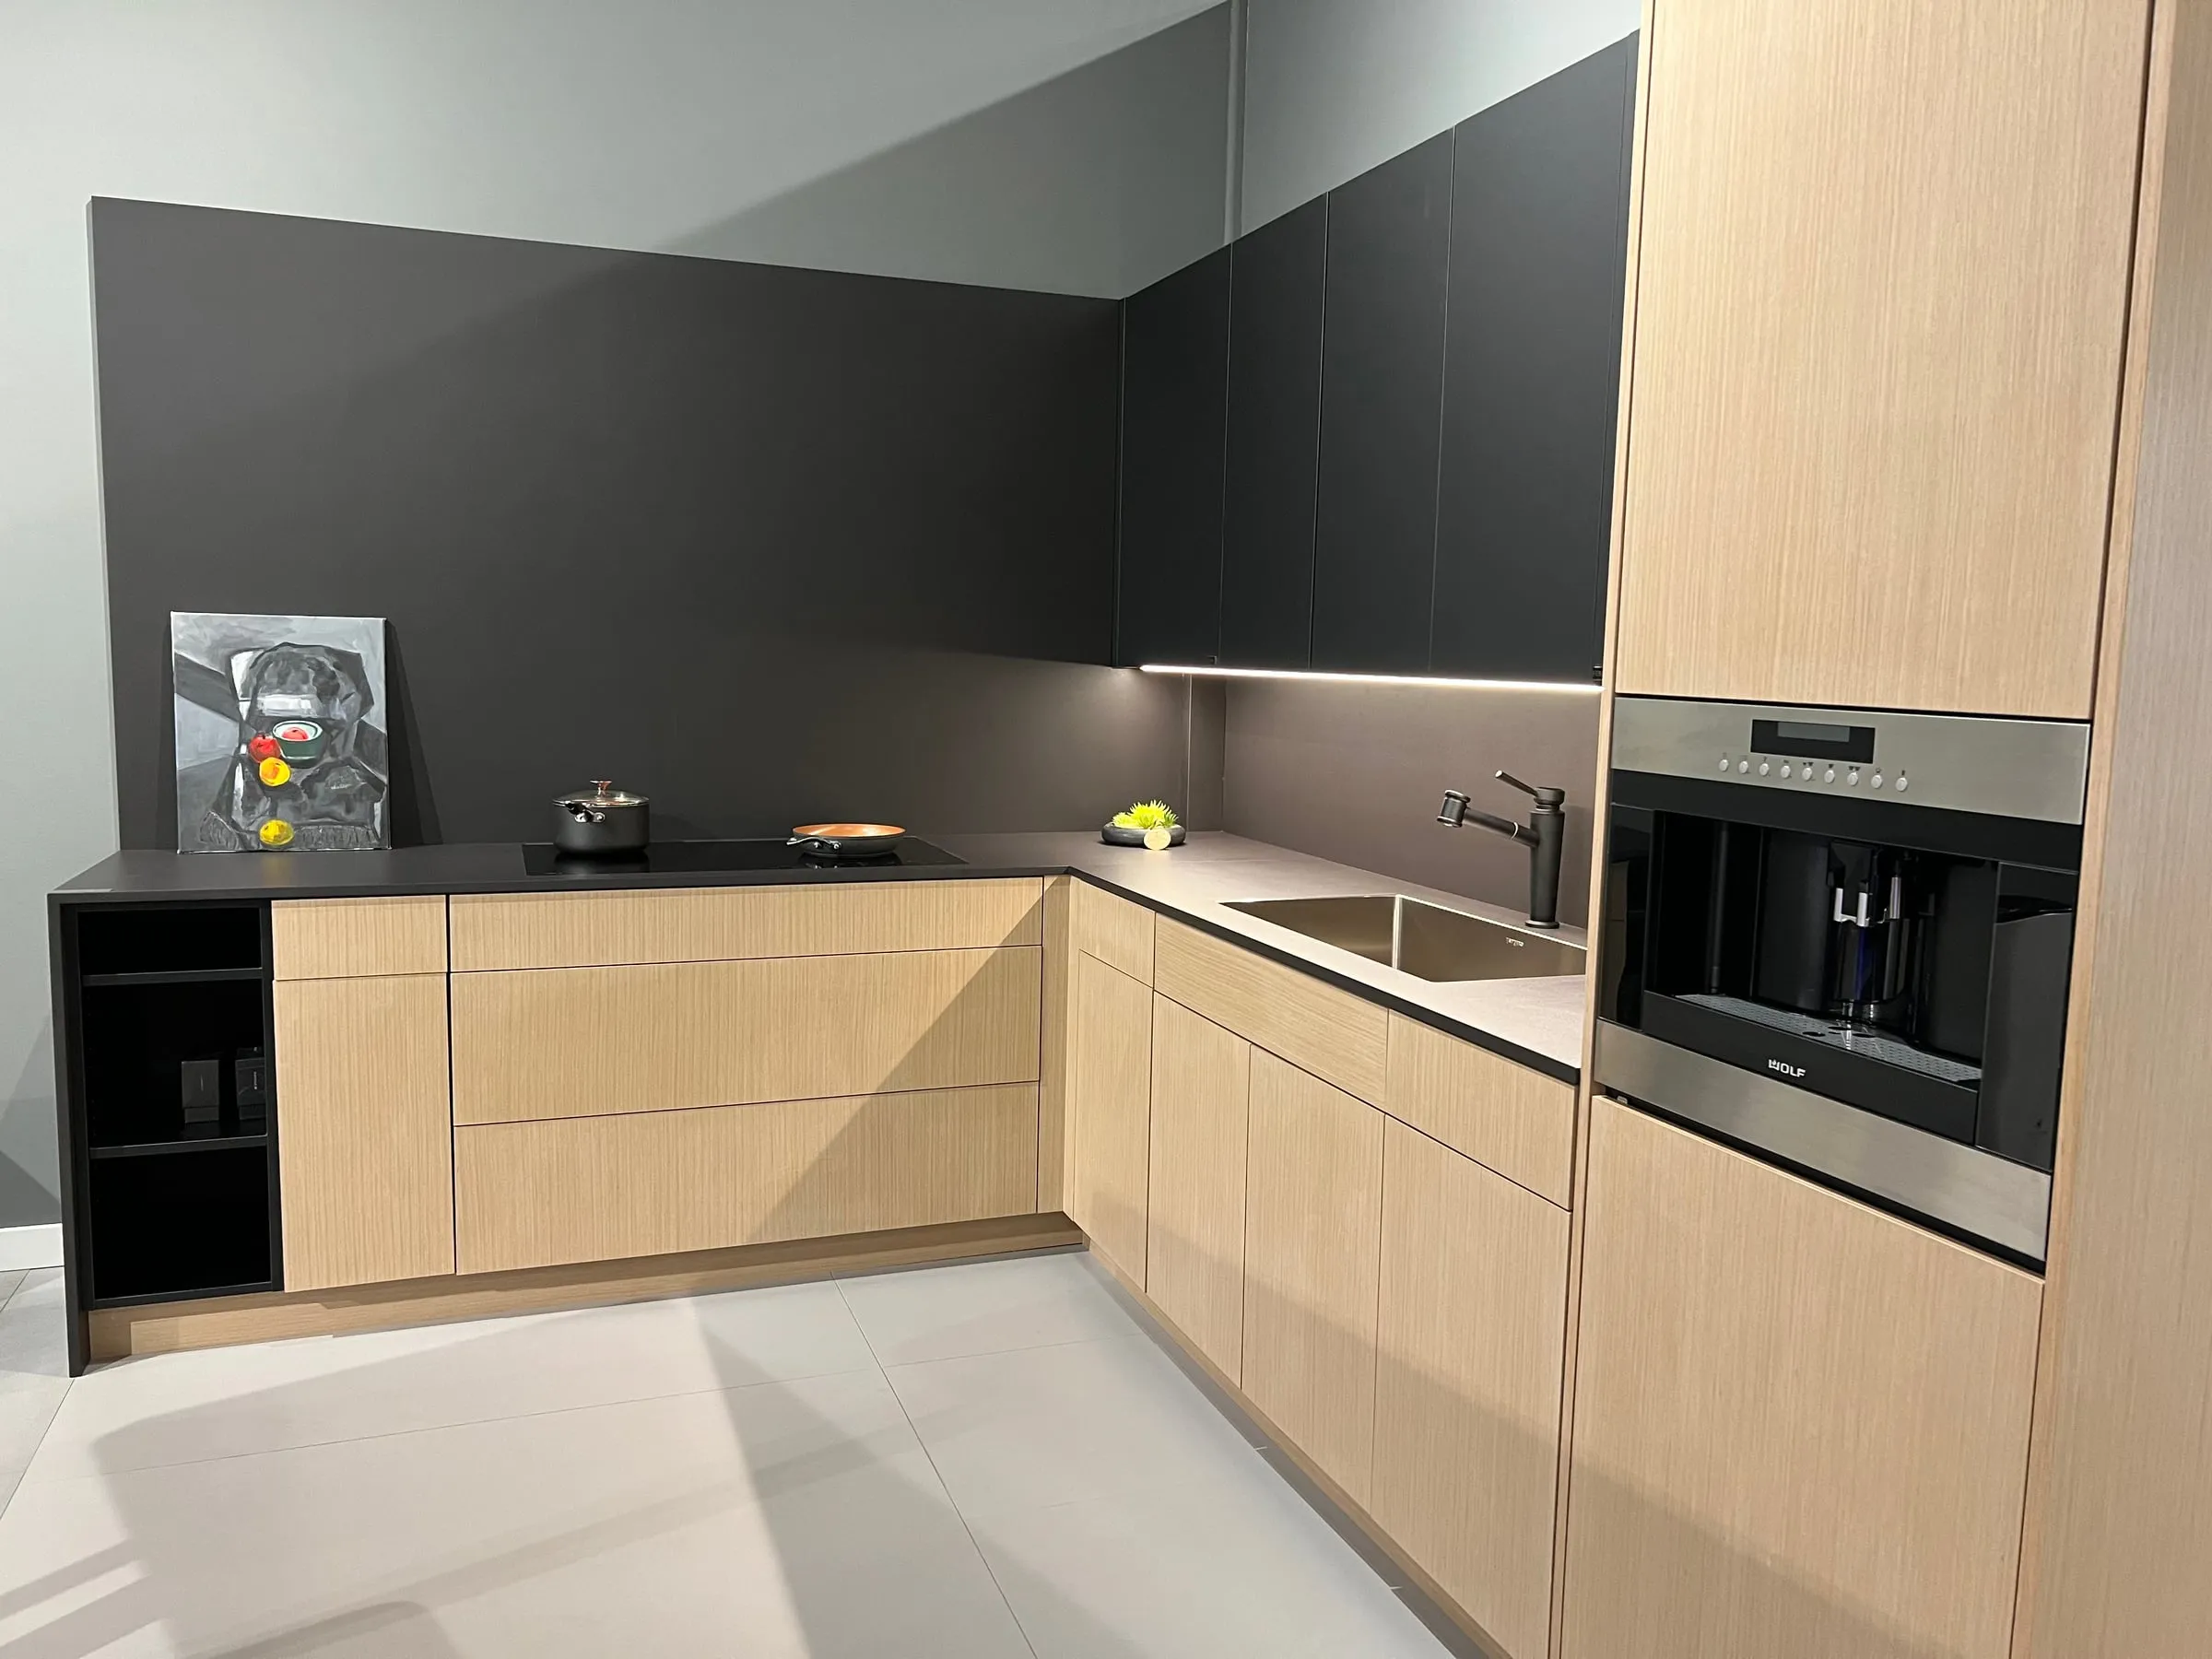
Where possible the wall and countertop come from the same material family, so the joint between them becomes a quiet detail.
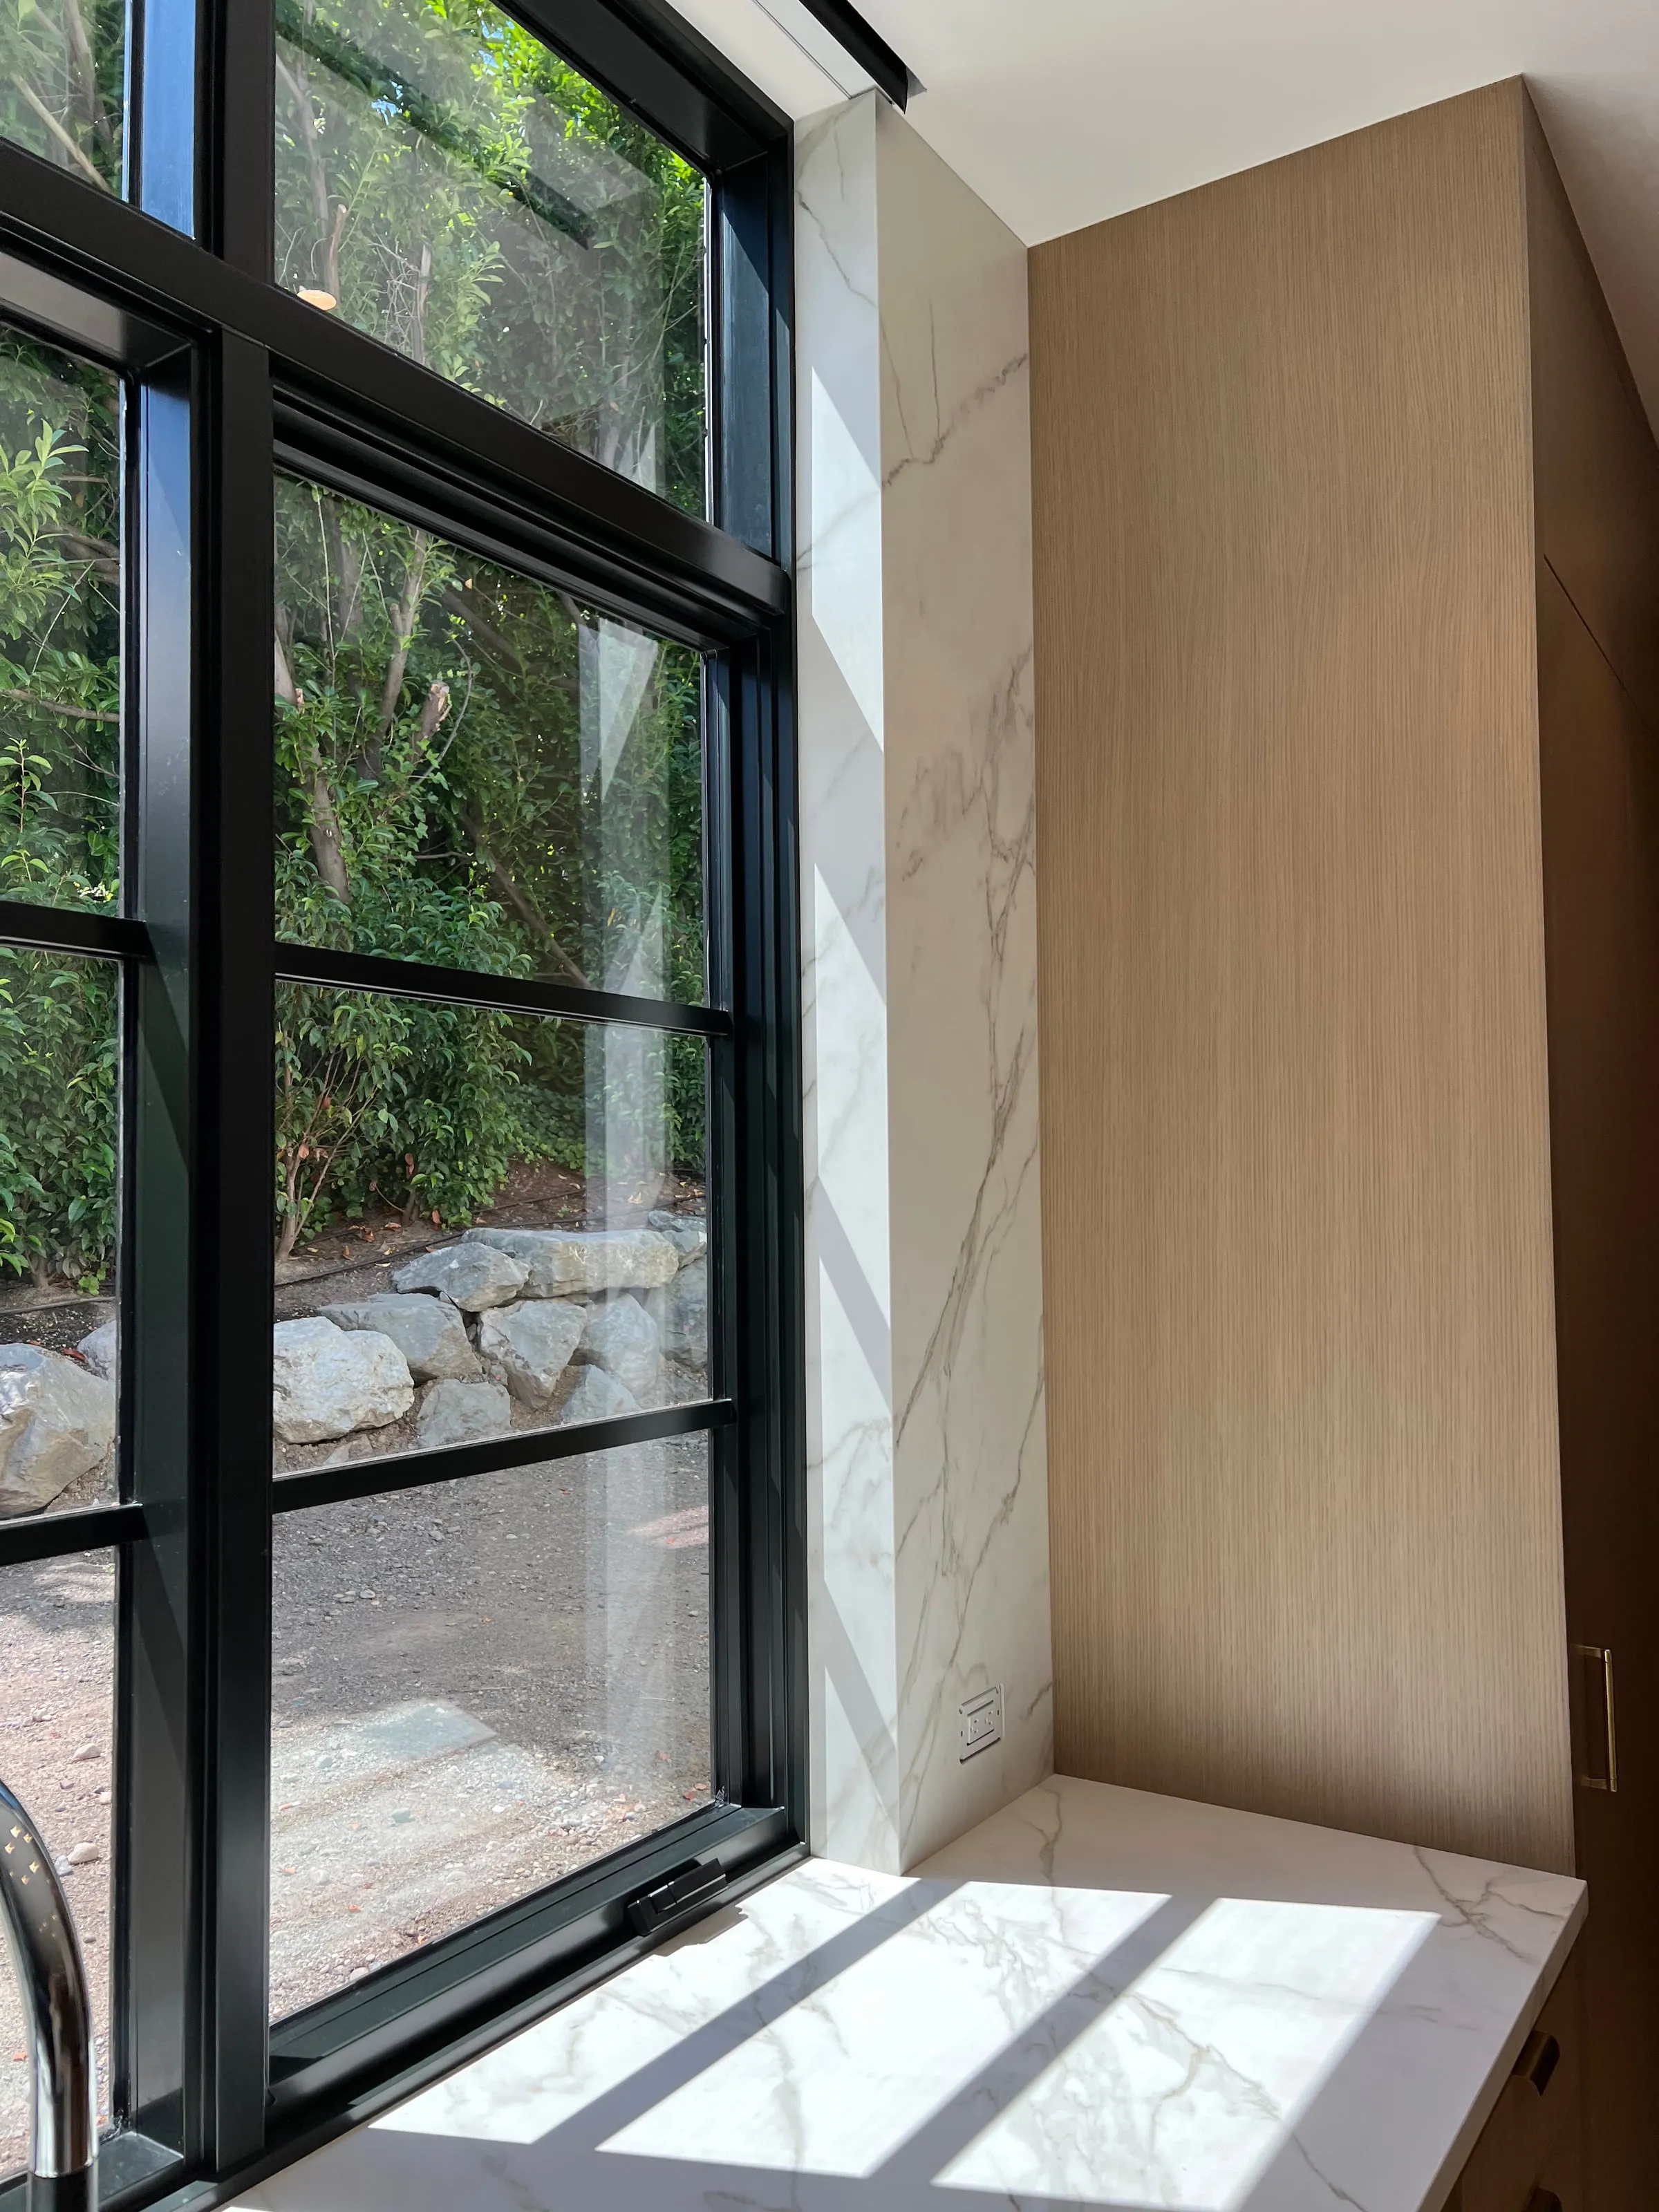
Openings are planned from your final electrical locations so cover plates sit flush.
Large panels are heavy and fragile at the edges, so we plan how they are lifted and set before install day.
Step by step
We review the wall, the countertop material and how the space is used, then agree on the layout and seam positions.
Outlets, switches and plumbing are set at final positions, and the wall surface is checked so the panel can bond evenly.
The wall is captured digitally and panels are specified to the layout, with cutouts matched to your fixtures.
Panels are lifted and bonded in sequence, aligned with the countertop below, then cleaned and checked.
Plan ahead
Slab or tile
A full height backsplash covers the wall from the countertop to the upper cabinets or the ceiling with continuous stone panels. It runs behind the range hood, past windows and outlets and into the corners, with seams placed where they keep the surface reading as one piece.
| Criterion | 4-inch tile backsplash | Full height slab |
|---|---|---|
| Cleaning | Grout lines need regular sealing and cleaning | No grout: one surface wipes clean in a single pass |
| Look on the wall | The tile pattern breaks the wall into small units | One continuous plane that reads as an architectural wall |
| Link to the countertop | No design continuity with the counter material | Same slab family as the countertop |
| Wall coverage | Painted drywall stays exposed above the strip | The cooking wall is covered up to the cabinets or ceiling |
| Grease and steam | Grout absorbs grease, steam and moisture over time | Porcelain and sintered stone are non-porous |
| Future renovation | Replaced separately from the countertop | Planned, fabricated and installed with the countertop |
Counter and wall together
The most resolved full height backsplashes use countertop and wall panels from the same slab lot, matched for color, movement and finish. The eye reads counter and wall as one plane instead of two materials meeting at a joint. With strongly veined stone, such as a bookmatched quartzite or a dramatic porcelain, that continuity turns the cooking wall into the focal point of the room.
Even where an exact slab match is not possible, choosing the backsplash from the same material family, with the same stone type and finish, gives a coherence that tile cannot reach. The joint between countertop and backsplash becomes a quiet detail instead of a meeting point between two separate design decisions.
Materials on a vertical surface
Weight, panel size and porosity change how a material behaves on a wall, and how it has to be installed.
Seams at eye level
Backsplash seams are more visible than countertop seams: they run vertically across the wall at eye level instead of lying flat on a work surface. We place them at natural break points, such as window edges, cabinet borders and column lines, where the eye already expects a transition, and avoid running one through the middle of an open panel or across a strong vein wherever the slab size allows.
For veined materials, the seam position is checked against the pattern before cutting. Where possible, panels are oriented so the veins flow across the joint, or laid out as a bookmatch so mirror-image panels form a symmetrical pattern at the seam. That takes careful slab selection and layout during templating, before any material is committed to a cut.
Before stone goes on
Setting large panels
Large thin porcelain panels flex under their own weight and chip at the edges under hand pressure, so they are not carried and placed by hand. A vacuum slab lifter grips the face, lifts the panel clear of the floor, turns it upright and holds it against the wall while the installer checks level, position and seam alignment and presses it into the adhesive.
Because the machine carries the weight from pickup to final set, the panel never knocks against walls, floors or countertop edges on the way, which is where irreversible edge chips usually happen.
Beyond the kitchen
Real projects
Case studies
Kitchen · Sintered Stone
Hunts Point, WA
A Hunts Point kitchen in Neolith Calacatta Silk, with a full-height backsplash, a large island and mitered edges throughout.
Read case study
Kitchen · Sintered Stone
Port Ludlow, WA
A Port Ludlow kitchen in Dekton Laurent and Dekton Rem, with full-height backsplashes, mitered waterfall details and a dining table on a hidden metal frame.
Read case studyQuestions
Service areas
Full Height Backsplash for homes in 13 Seattle-area cities, with local details for each.
Share photos, rough sizes and the material you like. We will help you take the next step.